
#5 Creating a Project Using AI
Learn how to use AI by building a simple blog website and launching your own blog project.
First, let's build a simple blog website to learn how to use AI while launching your own blog.
When it comes to blogging, WordPress has the largest market share and a massive user base, but today's WordPress has become incredibly complex (doing everything but making it a chore to learn and set up). While hosting a pre-made site on a cloud server is fine, let's take this opportunity to set up a site using AI power instead of WordPress.
Oh, but before that, let's prepare the AI in Zed. Since many sites explain how to use Zed, we'll leave the details to them and focus on the minimum required steps to create a project with AI here.
1. Decide on a folder to save your project and specify the new project folder.
Example) ~/Developer/my-blog ← Created under your home directory
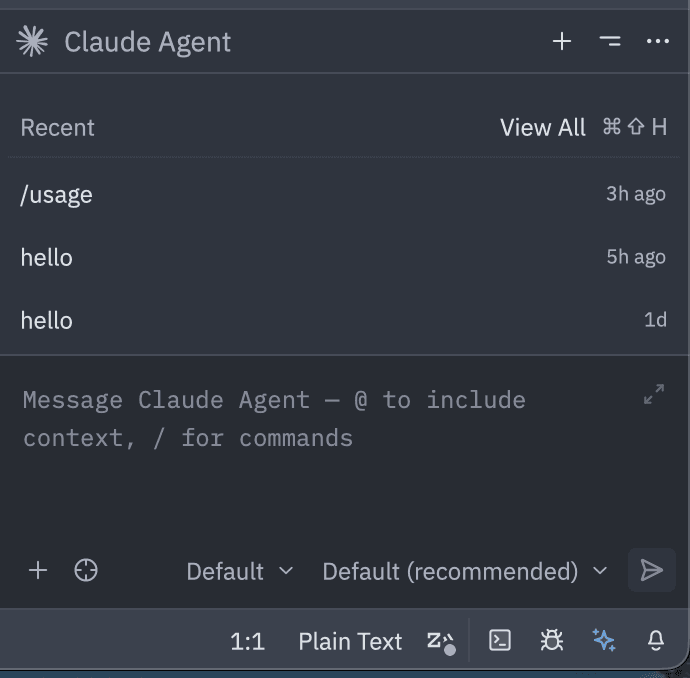
2. Click the leftmost icon at the bottom of Zed to open the project area, and select it there.

c. Next, click the second icon from the bottom right (the sparkle icon) to open the AI area.
For now, this is all for the Zed configuration. In this example, it shows Claude Code, but there is a "+" button to the right of the name to switch AI models. If you have a subscription, you don't need to enter login details. The browser will open automatically, and once you authenticate, it will log you in automatically using OAuth2. OAuth authentication is so easy!
Let's try entering the following prompt in this "Message xxxxx" prompt area:
"I created a new folder. This folder is a project for a new blog site called my-blog. Please create basic files and folders to make this folder usable as a GitHub repository, set up an empty project repository on GitHub, and push it."
Basically, this is all you need, but make sure to authenticate with GitHub via OAuth at some point. Otherwise, the AI will try all sorts of workarounds to execute the command and might start doing unnecessary things. However, if the AI mode is set to Default (as in this sample), it will ask for confirmation before executing commands.
With this, the initial setup for your blog site is complete. There are several ways to authenticate logins for AI and GitHub, but if you are doing it on your local computer, OAuth2 authentication is the safest. For Git in particular, while you can create a TOKEN, the AI can see that TOKEN. This is fine if you rotate it regularly, but you never know who might reuse your chat history with the AI. Please be careful. Well, since a blog site is public anyway, you might not need to worry too much about it, but treat it as a lesson for the future.